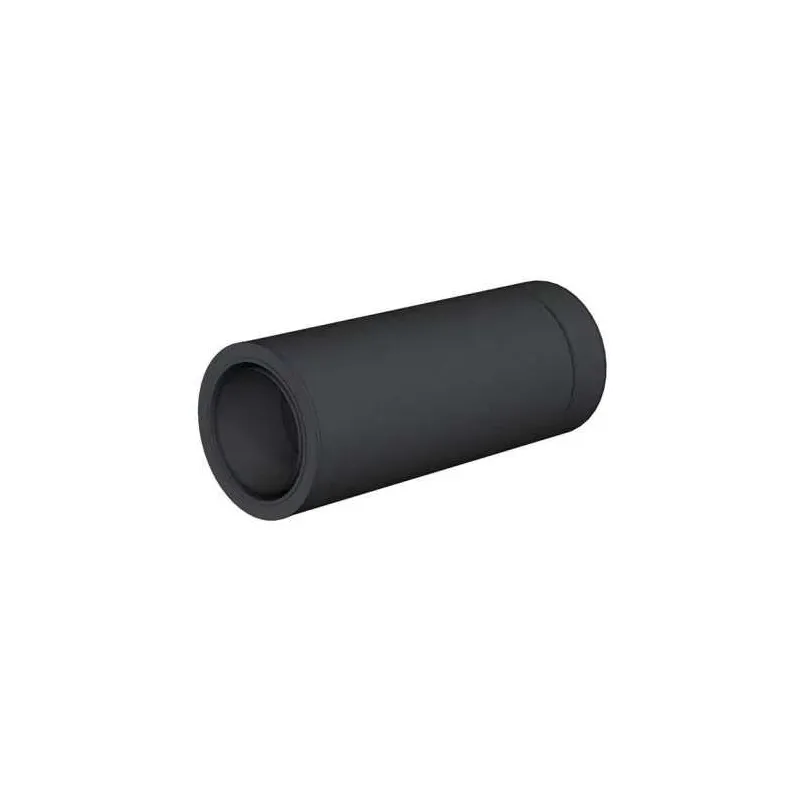
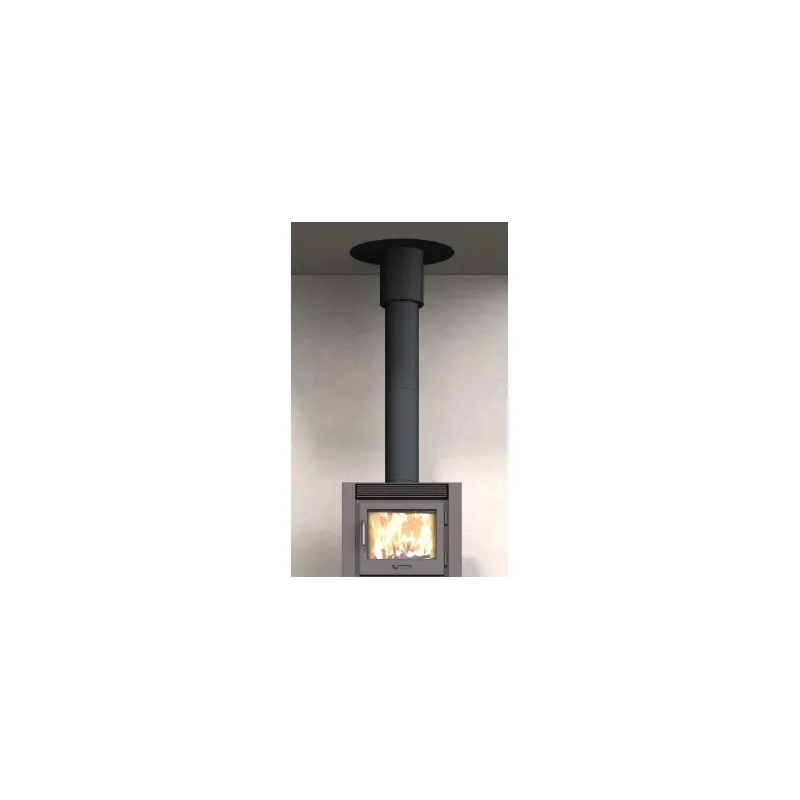
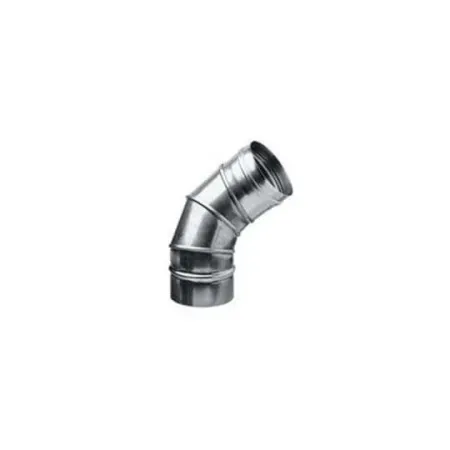
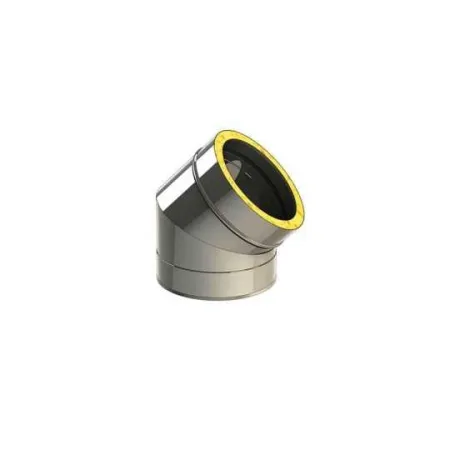
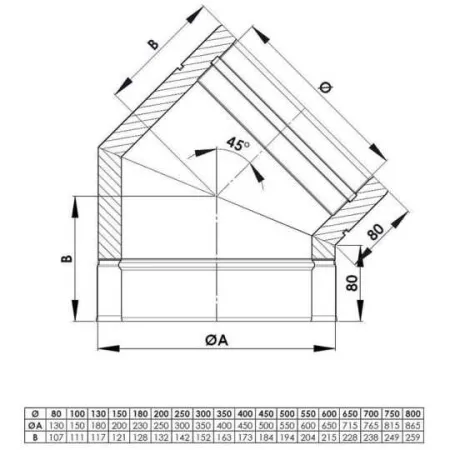
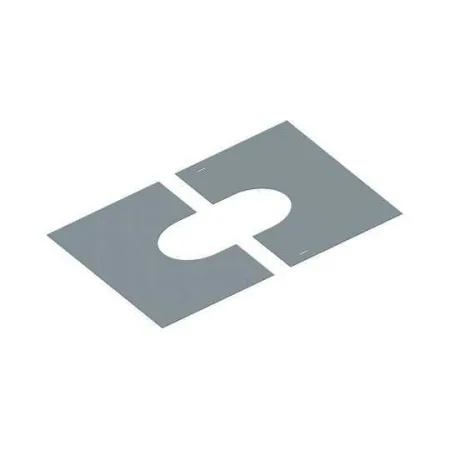
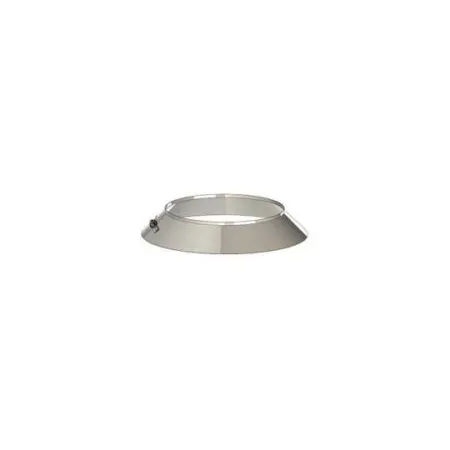
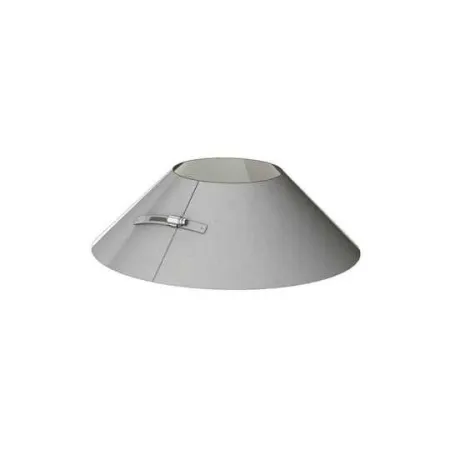
Black designer finishing element, used to connect a wood stove's connecting flue pipe to the insulated twin-wall flue in an attractive way. Can be cut to length and easy to fit, it is to be combined with a finishing rosette in 1 or 2 parts.
Available only in diameter 150 mm (⚠️End of line).
- In 316 L stainless steel for the inner wall and gloss black 304 stainless steel for the outer wall
- Compatible with pellet heating (Diameter 80 mm to 150 mm
- Suitable for wood heating (Diameter 130 mm to 250 mm)
- CE classifications (EN 1856-1): T450
Advantages of the designer finishing element:
✅ Socket channel dimensions: 100 mm, makes dismantling the connecting flue pipe easier
✅ Quick, attractive installation, indoors only
✅ Finishing rosette (sold separately) gives a perfect finish
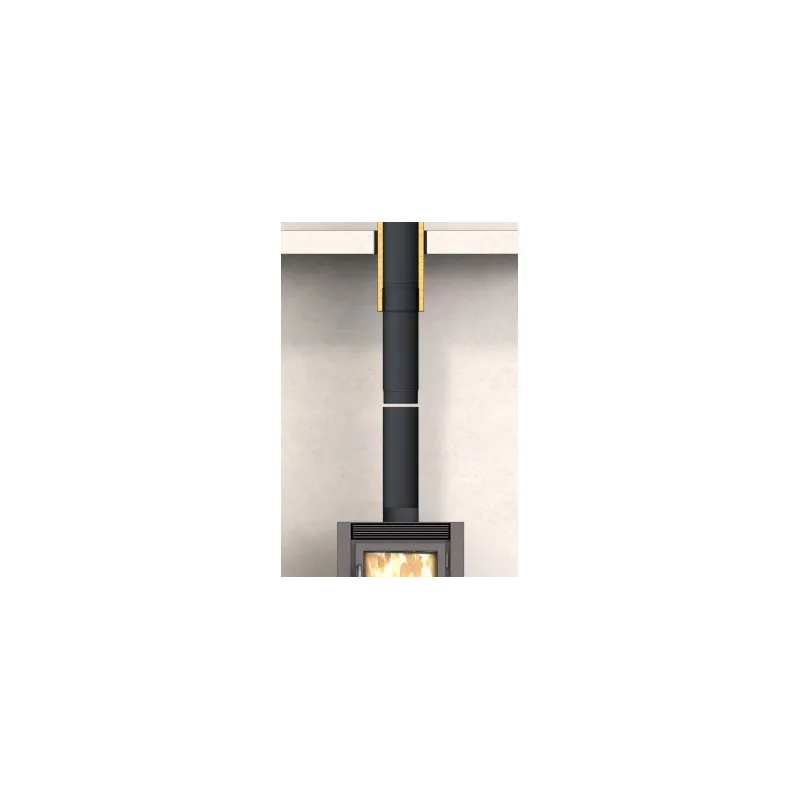
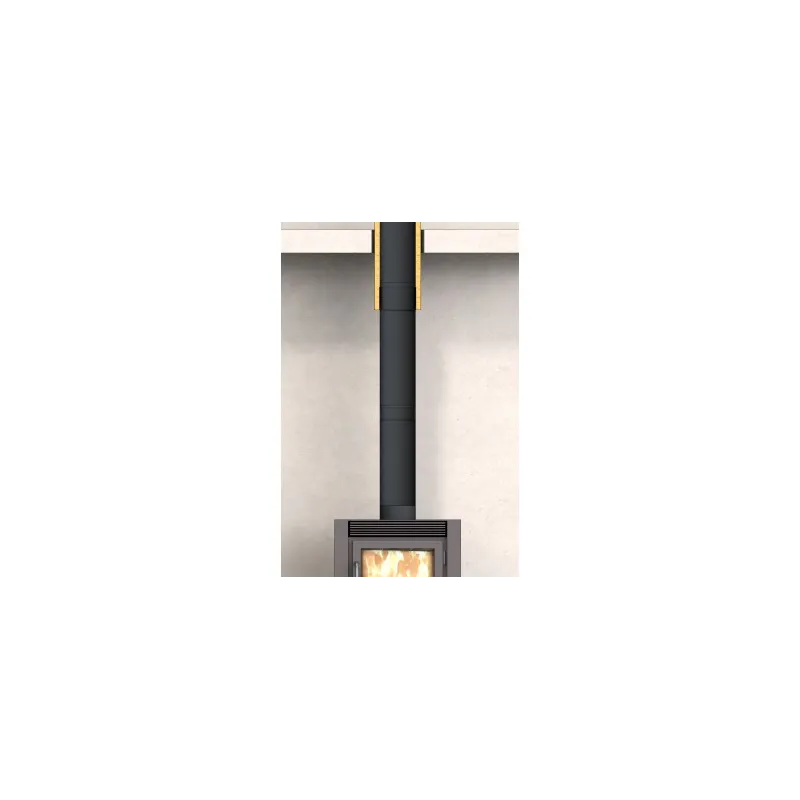
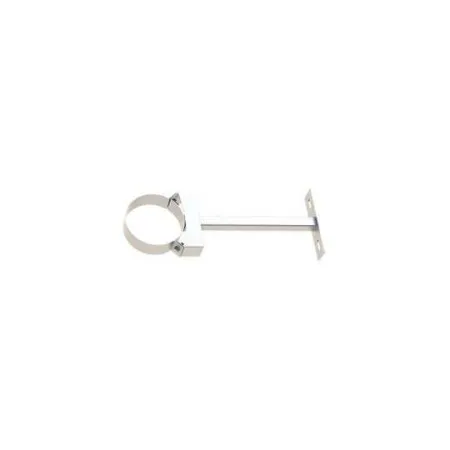
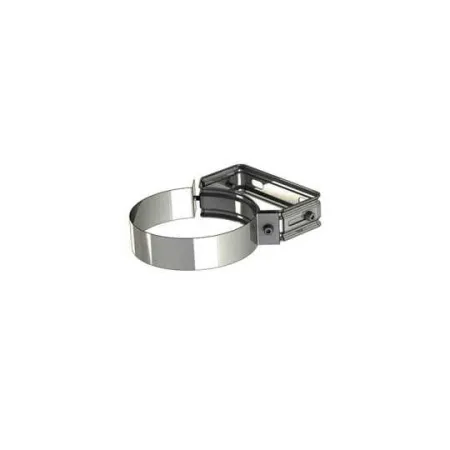
Installation rules: ➡️ Plan to fix the designer finishing element to the slab using a floor support ➡️ Check the distance from combustible materials, which must be at least 8 cm, and also that of the connecting pipe (at least 1.5 times the diameter with a heat shield, or 3 times the diameter) ➡️ Fit your connecting flue pipe leaving sufficient clearance at the socket so that the connecting flue pipe can be dismantled ➡️ Provide a wall bracket at least every 4 metres for the flue ➡️ The system can be integrated into an RT 2012 dwelling with the insulating shell system.
Installation steps:
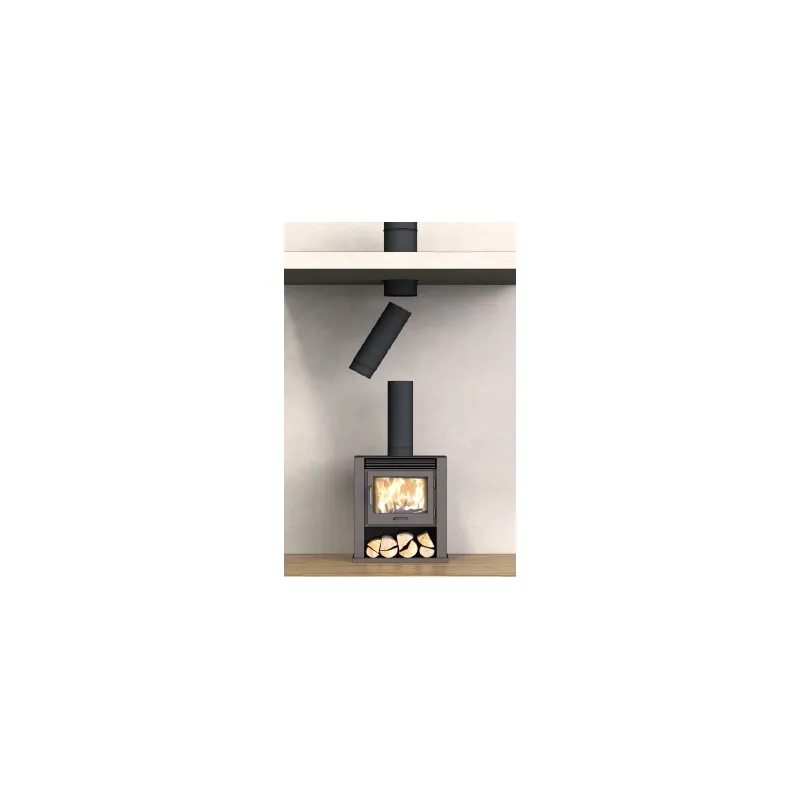
Step 1: Fix the designer element with a slab floor support
Step 2: Insert the connecting flue pipe as far as possible into the socket groove of the designer element
Step 3: Lower the connecting flue pipe back down to complete the connection with the appliance outlet
Step 4: Fix the finishing rosette to the ceiling